
Life has gotten so busy that I really only get to blog about once a year now- I know that’s pathetic, but with a busy business, homeschooling, and a toddler running around, life is a little hectic here at the Whalen household!
So upon my return- LOL, I thought I would share some before and afters of this beautiful lakefront home we recently renovated. My contractor friend Tony of Sterling Construction introduced me to these clients and they were seriously dream clients. They trusted us and our vision every step of the way and the end result in my opinion is magazine worthy!
This is a before picture of the living room looking into the Kitchen. Not horrible, right? But that wall had to go in order to open up this space. We also had to remove some windows, which isn’t ideal, but I promise you when you see the after you won’t even notice.

and the after…

Quite the transformation and look at the light!
Here are a few more before pictures. We moved the range to the back wall so removing the window over the sink was a must.


Afters…

Adding this coffee hutch in a contrasting wood was key in bringing interest to this coastal kitchen

Floating shelves for the win!

Marble backsplash, wood trim hood, and a Wolf range make this a chefs dream kitchen


So let’s talk about the floors for a minute. We started off with Brazilian cherry floors. Not only did we want to get rid of the red, but they were laid in several different directions including on a diagonal in the living room. First, we pulled up the living room floor and feathered in more Brazilian cherry then we went to work with bleaching almost the entire first floor 6 times- yes, 6 times. Then came the hard part- selecting a stain. After about 2 dozen samples, our final selection was 60% country white and 40% special walnut.

Brazilian Cherry Before

The bleached floors after with custom mixed stain
Do you want to see more of the living room?!!! When remodeling a home you really need to take into consideration all of the adjoining rooms and how they will flow together. Prior to the remodel you had to walk through the middle of the living room to get to the kitchen which was a little awkward. So in designing the new space, I created more of a walkway into the kitchen by shifting the furniture closer to the windows.

Before Family Room


After Family room

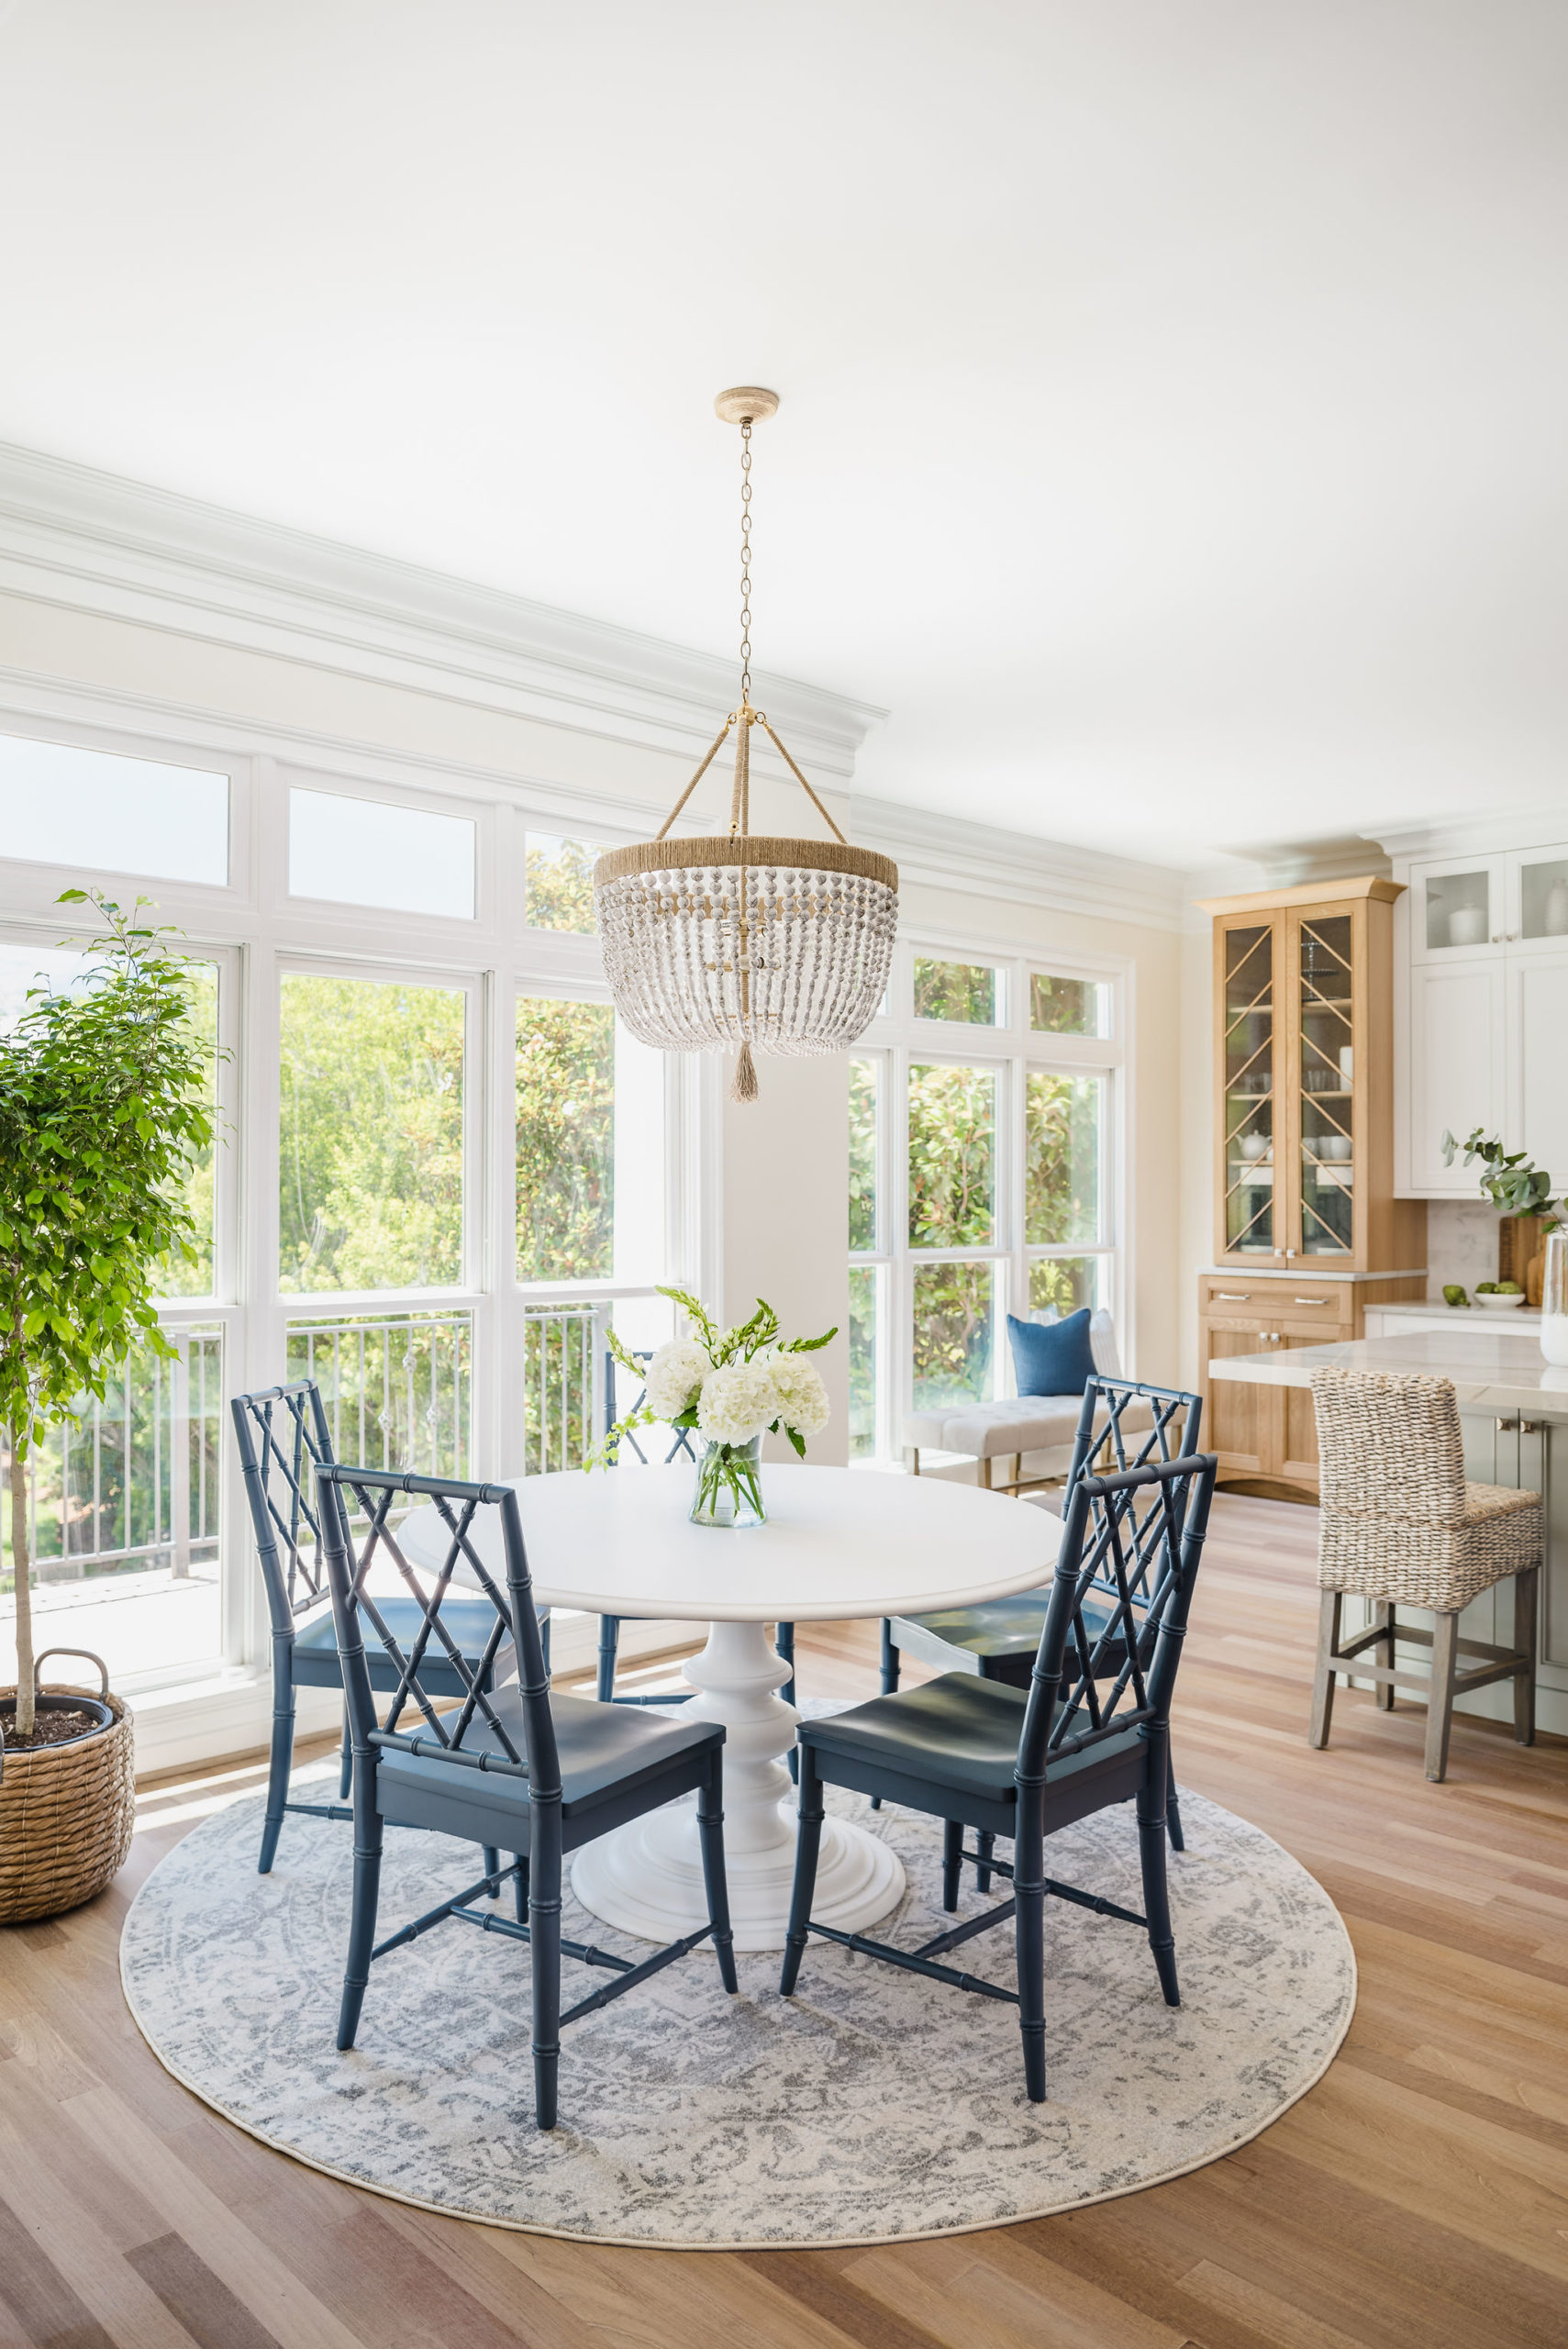
We also shifted the breakfast room to the area that was the kid’s corner and we have to say, we love it!

Breakfast Room
I knew from the minute I walked in this home, that the before and afters would be amazing. I enjoyed every minute of this project and when it’s on par with my brand and everything I love about coastal design and it’s for amazing clients, it’s a win-win!
